这部分示例将致力于用 Node.js 模拟一个类似于 Apache 的 Web 服务器,处理浏览器端的请求,将相关的页面响应给浏览器。首先,我们要在code目录下执行mkdir 03_webSever命令来创建用于存放这一组示例的目录。然后执行以下步骤:
- 在code/03_webSever目录下执行mkdir www命令,创建网站目录,然后在其中创建index.htm和login.htm两个 html 文件以及一个名为style.css的 CSS 文件:
1、index.htm:
<!DOCTYPE html>
<html lang="zh-cn">
<head>
<meta charset="utf-8" />
<link rel="stylesheet" type="text/css" href="style.css" />
<title>首页</title>
</head>
<body>
<h1>你好,nodejs!</h1>
<p> <a href="login.htm">请登录!</a> </p>
</body>
</html>
2、login.htm:
<!DOCTYPE html>
<html lang="zh-cn">
<head>
<meta charset="utf-8" />
<link rel="stylesheet" type="text/css" href="style.css" />
<title>登录页面</title>
</head>
<body>
<h1>你已经登录。。。</h1>
<p> <a href="index.htm">回首页!</a> </p>
</body>
</html>
3、style.css:
body {
background: gray;
}
2、在code/03_webSever目录下执行touch 03-webServer.js命令,创建脚本文件,并输入如下代码:
const http = require('http')
const fs = require('fs')
const server = http.createServer()
server.on('request', function(req, res) {
const webRoot = './www'
const url = req.url
if ( url === '/' ) {
url = '/index.htm'
}fs.readFile(webRoot+url, function(err, data) {
if ( err !== null ) {
console.error('错误信息:' + err.message)
return res.end('<h1>404 页面没找到!</h1>')
}res.end(data)})})server.listen(8080, function(){
console.log('请访问http://localhost:8080/,按Ctrl+C终止服务!')
})
3、保存所有文件后,在code/03_webSever目录下执行node 03-webServer.js命令,然后打开浏览器并访问http://localhost:8080/,就会看到如下页面:

示例4. 使用art-template模版引擎生成网页
这一部分本示例将以生成个人信息页面为例,演示在服务器端基于 Node.js 使用art-template模板引擎来生成网页。为此,我们需要在code目录下执行mkdir 04_templatingEngine命令来创建用于存放这一组示例的目录。
1. 单模版渲染
首先来示范一下如何使用art-template模版引擎的渲染单一模版文件,请跟着以下步骤来构建示例:
- 在code/04_templatingEngine目录下执行npm install art-template --save命令,安装将art-template包安装到当前示例项目中。
- 在code/04_templatingEngine目录下执行touch singleTpl.htm命令,创建一个模版文件,并在其中输入以下代码:
<!DOCTYPE html>
<html lang="zh-cn">
<head>
<meta charset="utf-8" />
<link rel="stylesheet" type="text/css" href="style.css" />
<title>{{ name }}的个人信息</title>
</head>
<body>
<h1>{{ name }}的个人信息</h1>
<table>
<tr><td>姓名:</td><td>{{ name }}</td></tr>
<tr><td>年龄:</td><td>{{ age }}</td></tr>
<tr><td>性别:</td><td>{{ sex }}</td></tr>
<tr>
<td>爱好:</td>
<td>{{ each items }} {{ $value }} {{ /each }}</td>
</tr>
</table>
</body>
</html>
3、在code/04_templatingEngine目录下执行touch 04-useTemplating_engine.js命令,创建一个脚本文件,具体如下:
const http = require('http')
const fs = require('fs')
const template = require('art-template')
class human {
constructor(name, age, sex, items=[])
{this.name = name
this.age = agethis.sex = sexthis.items = items}}const server = http.createServer()
server.on('request', function(req, res){
const url = req.url
let boy = nullif ( url === '/' ) {
boy = new human('凌杰', '37', '男', ['看书', '看电影','旅游'])
} else if ( url === '/wang' ) {
boy = new human('蔓儿', '25', '女', ['看书', '看电影','写作'])
}if ( boy === null ) {
return res.end('<h1>404 页面没找到!</h1>')
}fs.readFile('./singleTpl.htm', function(err, data){
if ( err !== null ) {
return res.end('<h1>404 没找到模版文件!</h1>')
}const strHtml = template.render(data.toString(), {
name : boy.name,
age : boy.age,
sex : boy.sex,
items: boy.items
})res.end(strHtml)})})server.listen(8080, function(){
console.log('请访问http://localhost:8080/,按Ctrl+C终止服务!')
})
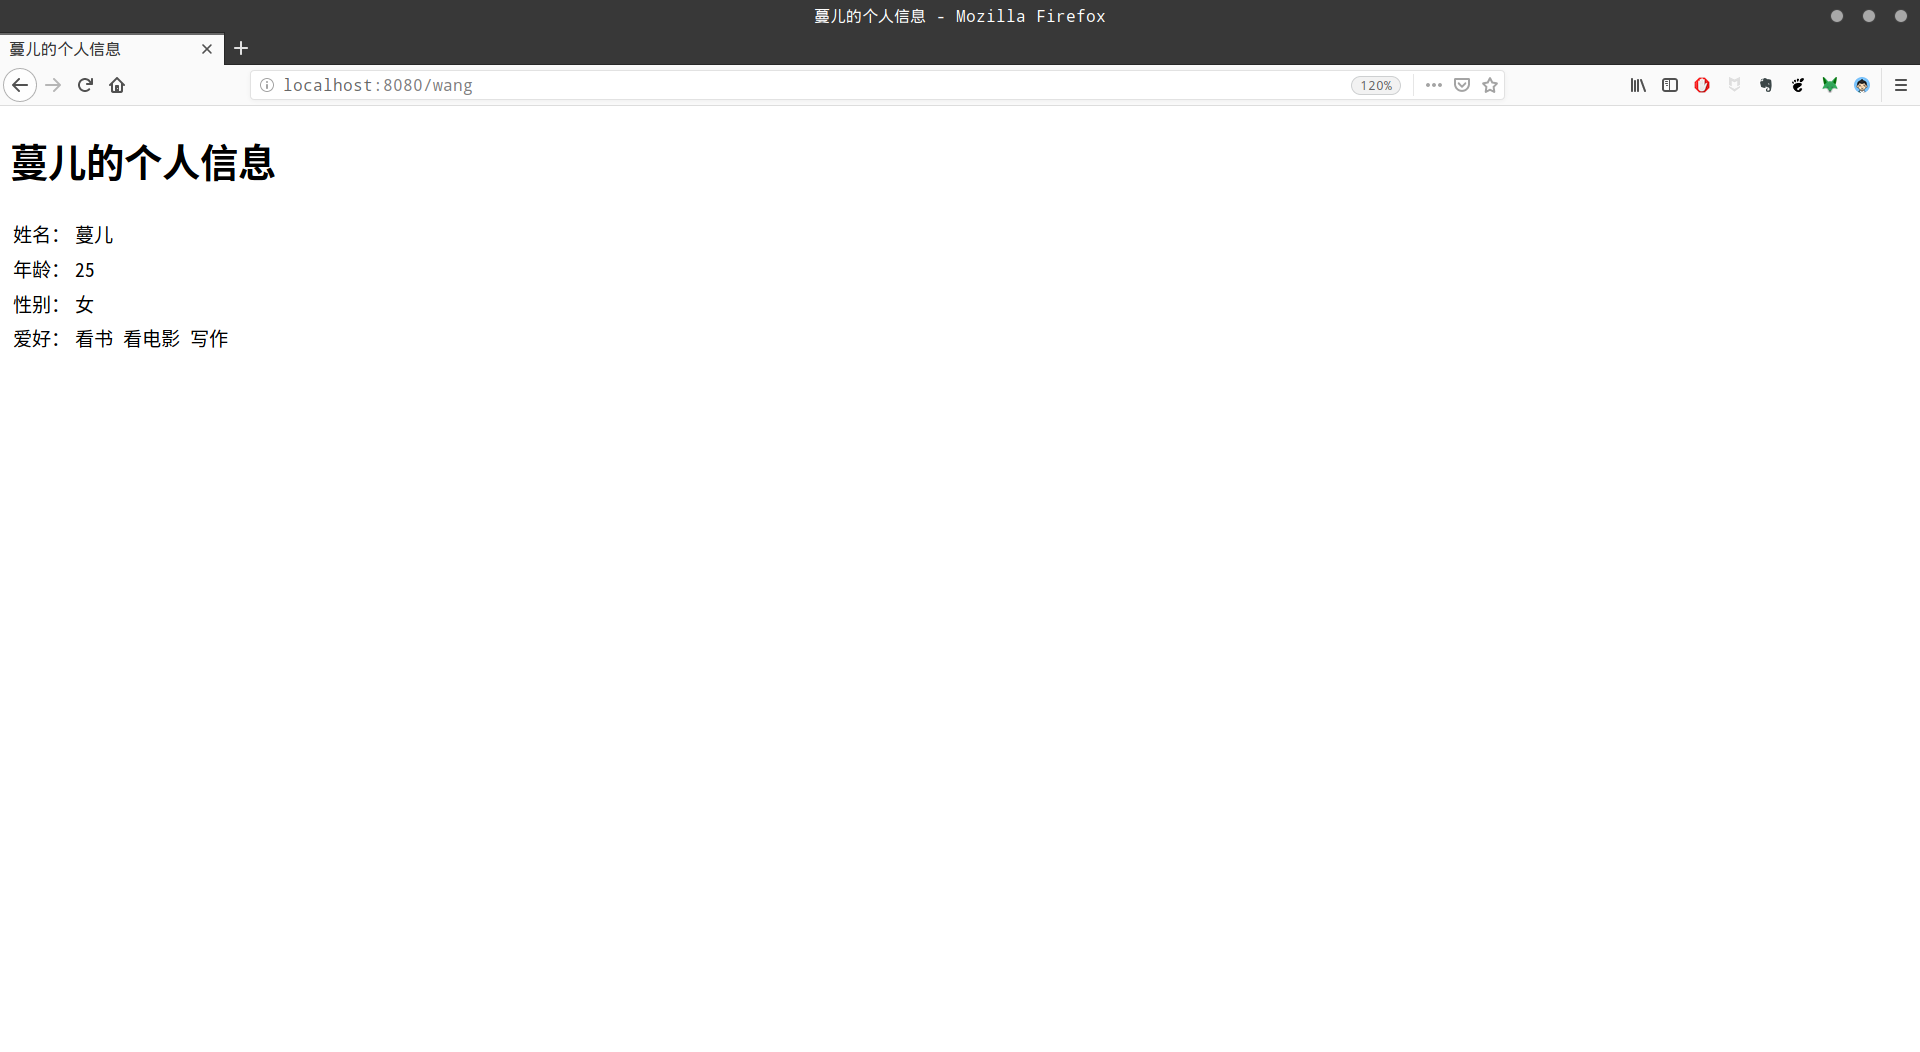
4、保存所有文件后,在code/04_templatingEngine目录下执行node 04-useTemplating_engine.js命令,然后打开浏览器并访问http://localhost:8080/wang,就会看到如下页面:
2. 多模版组合渲染
在同一 Web 应用中,所有的页面通常都由相同的头部和底部元素,所以为了减少代码的冗余,提高重用率,开发者们通常会考虑将重复的部分独立成一个单独的模版文件,然后用相互包含的方式组合成页面。下面就继续以art-template模板引擎为例来演示一下如何将多个模版组合渲染成单一的 HTML 页面,其具体步骤如下:
- 在code/04_templatingEngine目录下执行touch tpl1.art tpl2.art命令,创建两个模版文件,然后在这两个文件中分别输入以下代码:
1、tpl1.art :
<header>
<h1>查看个人信息</h1>
<br>
</header>
2、tpl2.art :
<footer>
<div>
<p>© 2016 owlman.org;本站系纯HTML5站点。</p>
</div>
</footer>
2、在code/04_templatingEngine目录下执行touch multiTpl.htm命令创建用于组合的 HTML 页面文件,并在其中输入以下代码:
<!DOCTYPE html>
<html lang="zh-cn">
<head>
<meta charset="utf-8" />
<link rel="stylesheet" type="text/css" href="style.css" />
<title>查看个人信息</title>
</head>
<body>
{{ include './tpl1.art' }}<h2>{{ name }}的个人信息</h2>
<table>
<tr><td>姓名:</td><td>{{ name }}</td></tr>
<tr><td>年龄:</td><td>{{ age }}</td></tr>
<tr><td>性别:</td><td>{{ sex }}</td></tr>
<tr>
<td>爱好:</td>
<td>{{ each items }} {{ $value }} {{ /each }}</td>
</tr>
</table>
{{ include './tpl2.art' }}</body>
</html>
3、在code/04_templatingEngine目录下执行
cp 04-useTemplating_engine.js 04-useTemplating_engine2.js命令,将之前的代码复制一份,并修改如下:
const http = require('http')
const fs = require('fs')
const template = require('art-template')
template.defaults.root = __dirname // 配置模版的查找根目录class human {constructor(name, age, sex, items=[]){this.name = namethis.age = agethis.sex = sexthis.items = items}}const server = http.createServer()server.on('request', function(req, res){
const url = req.urllet boy = nullif ( url === '/' ) {
boy = new human('凌杰', '37', '男', ['看书', '看电影','旅游'])
} else if ( url === '/wang' ) {
boy = new human('蔓儿', '25', '女', ['看书', '看电影','写作'])
}if ( boy === null ) {
return res.end('<h1>404 页面没找到!</h1>')
}fs.readFile('./multiTpl.htm', function(err, data){ // 修改了要读取的模版文件
if ( err !== null ) {
return res.end('<h1>404 没找到模版文件!</h1>')
}const strHtml = template.render(data.toString(), {name : boy.name,age : boy.age,sex : boy.sex,items: boy.items})res.end(strHtml)
})})server.listen(8080, function(){
console.log('请访问http://localhost:8080/,按Ctrl+C终止服务!')
})
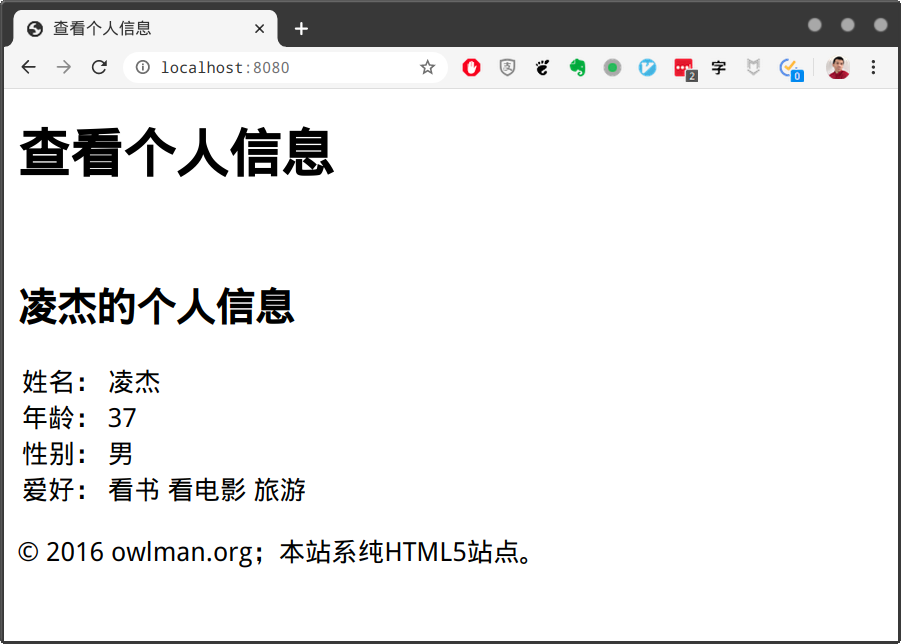
4、保存所有文件后,在code/04_templatingEngine目录下执行node 04-useTemplating_engine2.js命令,然后打开浏览器并访问http://localhost:8080,就会看到如下页面:
3. 多模版继承渲染
当然,如果重复的元素只有头部和尾部的话,有时候使用模版继承语法来渲染页面会是一个更好的选择,下面就来继续演示一下art-template模板引擎的继承语法来渲染 HTML 页面,其具体步骤如下:
- 在code/04_templatingEngine目录下执行touch baseTpl.art命令,创建父模版文件,然后在该文件中输入以下代码:
<!DOCTYPE html>
<html lang="zh-cn">
<head>
<meta charset="utf-8" />
<link rel="stylesheet" type="text/css" href="style.css" />
<title>{{ name }}的个人信息</title>
</head>
<body>
<header>
<h1>查看个人信息</h1>
<br>
</header>
{{ block 'message' }}{{ /block }}<footer>
<div>
<p>© 2016 owlman.org;本站系纯HTML5站点。</p>
</div>
</footer>
</body>
</html>
2、在code/04_templatingEngine目录下执行touch extendTpl.htm命令,创建子模版文件,然后在该文件中输入以下代码:
{{ extend 'baseTpl.art' }}
{{ block 'message' }}<h1>{{ name }}的个人信息</h1>
<table>
<tr><td>姓名:</td><td>{{ name }}</td></tr>
<tr><td>年龄:</td><td>{{ age }}</td></tr>
<tr><td>性别:</td><td>{{ sex }}</td></tr>
<tr>
<td>爱好:</td>
<td>{{ each items }} {{ $value }} {{ /each }}</td>
</tr>
</table>
{{ /block }}
3、在code/04_templatingEngine目录下执行cp 04-useTemplating_engine.js 04-useTemplating_engine3.js命令,将之前的代码复制一份,并修改如下:
// 用Node.js生成动态页面
// 作者:owlman// 时间:2019年07月12日
const http = require('http')
const fs = require('fs')
const template = require('art-template')
template.defaults.root = __dirnameclass human {constructor(name, age, sex, items=[]){this.name = namethis.age = agethis.sex = sexthis.items = items}}const server = http.createServer()server.on('request', function(req, res) {
const url = req.urllet boy = nullif (url === '/') {
boy = new human('凌杰', '37', '男', ['看书', '看电影','旅游'])
} else if (url === '/wang') {
boy = new human('蔓儿', '25', '女', ['看书', '看电影','写作'])
}if (boy === null) {
return res.end('<h1>404 页面没找到!</h1>')
}fs.readFile('./extendTpl.htm', function(err, data) {
if ( err !== null ) {
return res.end('<h1>404 没找到模版文件!</h1>')
}const strHtml = template.render(data.toString(), {name : boy.name,age : boy.age,sex : boy.sex,items: boy.items})res.end(strHtml)
})})server.listen(8080, function(){
console.log('请访问http://localhost:8080/,按Ctrl+C终止服务!')
})
4、保存所有文件后,在code/04_templatingEngine目录下执行node 04-useTemplating_engine3.js命令,然后打开浏览器并访问http://localhost:8080,就会看到与之前相同的页面。
示例5. Web 表单处理
这一部分示例将致力于演示用 Node.js 处理 Web 表单,我们将会分别示范如何用get和post两种方法来处理表单的请求。首先,我们要在code目录下执行mkdir 05_webForm命令来创建用于存放这一组示例的目录。
1. get 方法
先用一个信息查询程序来演示一下如何处理使用get方法来发送请求的表单。首先,在code/05_webForm目录下执行mkdir get_form命令,并执行以下步骤:
在code/05_webForm/get_form目录下执行npm install art-template命令,将art-template安装到当前示例项目中。
在code/05_webForm/get_form目录下执行touch index.htm,创建一个模版文件,具体如下: <!DOCTYPE html>
<html lang="zh-cn">
<head>
<meta charset="UTF-8">
<title>个人信息查询</title>
</head>
<body>
<h1>个人信息查询</h1>
<form action="/query" method="GET">
<label for="message">请输入要查询的姓名:</label>
<input type="text" name="qname" />
<input type="submit" value="查询" />
</form>
<br />
{{ if name }}<table>
<caption>{{ name }}的个人信息</caption>
<tr><td>姓名:</td><td>{{ name }}</td></tr>
<tr><td>年龄:</td><td>{{ age }}</td></tr>
<tr><td>性别:</td><td>{{ sex }}</td></tr>
<tr>
<td>爱好:</td>
<td>{{ each items }} {{ $value }} {{ /each }}</td>
</tr>
</table>
{{ else if query_error }}<h2>没有找到相关信息!</h2>
{{ /if }}</body>
</html>
3、在code/05_webForm/get_form目录下执行touch App.js,创建一个脚本文件,具体如下: const http = require('http')
const fs = require('fs')
const url = require('url')
const template = require('art-template')
class human {
constructor(name, age, sex, items=[])
{this.name = name
this.age = agethis.sex = sexthis.items = items}}const db = [
new human('凌杰', '37', '男', ['看书', '看电影','旅游']),
new human('蔓儿', '25', '女', ['看书', '看电影','写作']),
new human('张语', '32', '女', ['看书', '旅游','绘画'])
]const server = http.createServer(function(req, res){
const query = url.parse(req.url, true)
let obj = null
let query_error = falseif ( query.pathname === '/' ) {
query_error = false
}else if (query.pathname === '/query') {
for(let i = 0; i < db.length; ++i) {
if (db[i].name == query.query["qname"]) {
obj = db[i]}}if ( obj === null ) {
query_error = true
}} else {
return res.end('<h1>404 页面没找到!</h1>')
}fs.readFile('./index.htm', function(err, data){
if ( err !== null ) {
return res.end('<h1>404 没找到模版文件!</h1>')
}let strHtml = null
if ( obj !== null ) {
strHtml = template.render(data.toString(), {name : obj.name,
age : obj.age,
sex : obj.sex,
items: obj.items,
query_error: query_error
})} else {
strHtml = template.render(data.toString(), {name : false,
query_error: query_error
})}res.end(strHtml)})})server.listen(8080, function() {
console.log('请访问http://localhost:8080/,按Ctrl+C终止服务!')
})
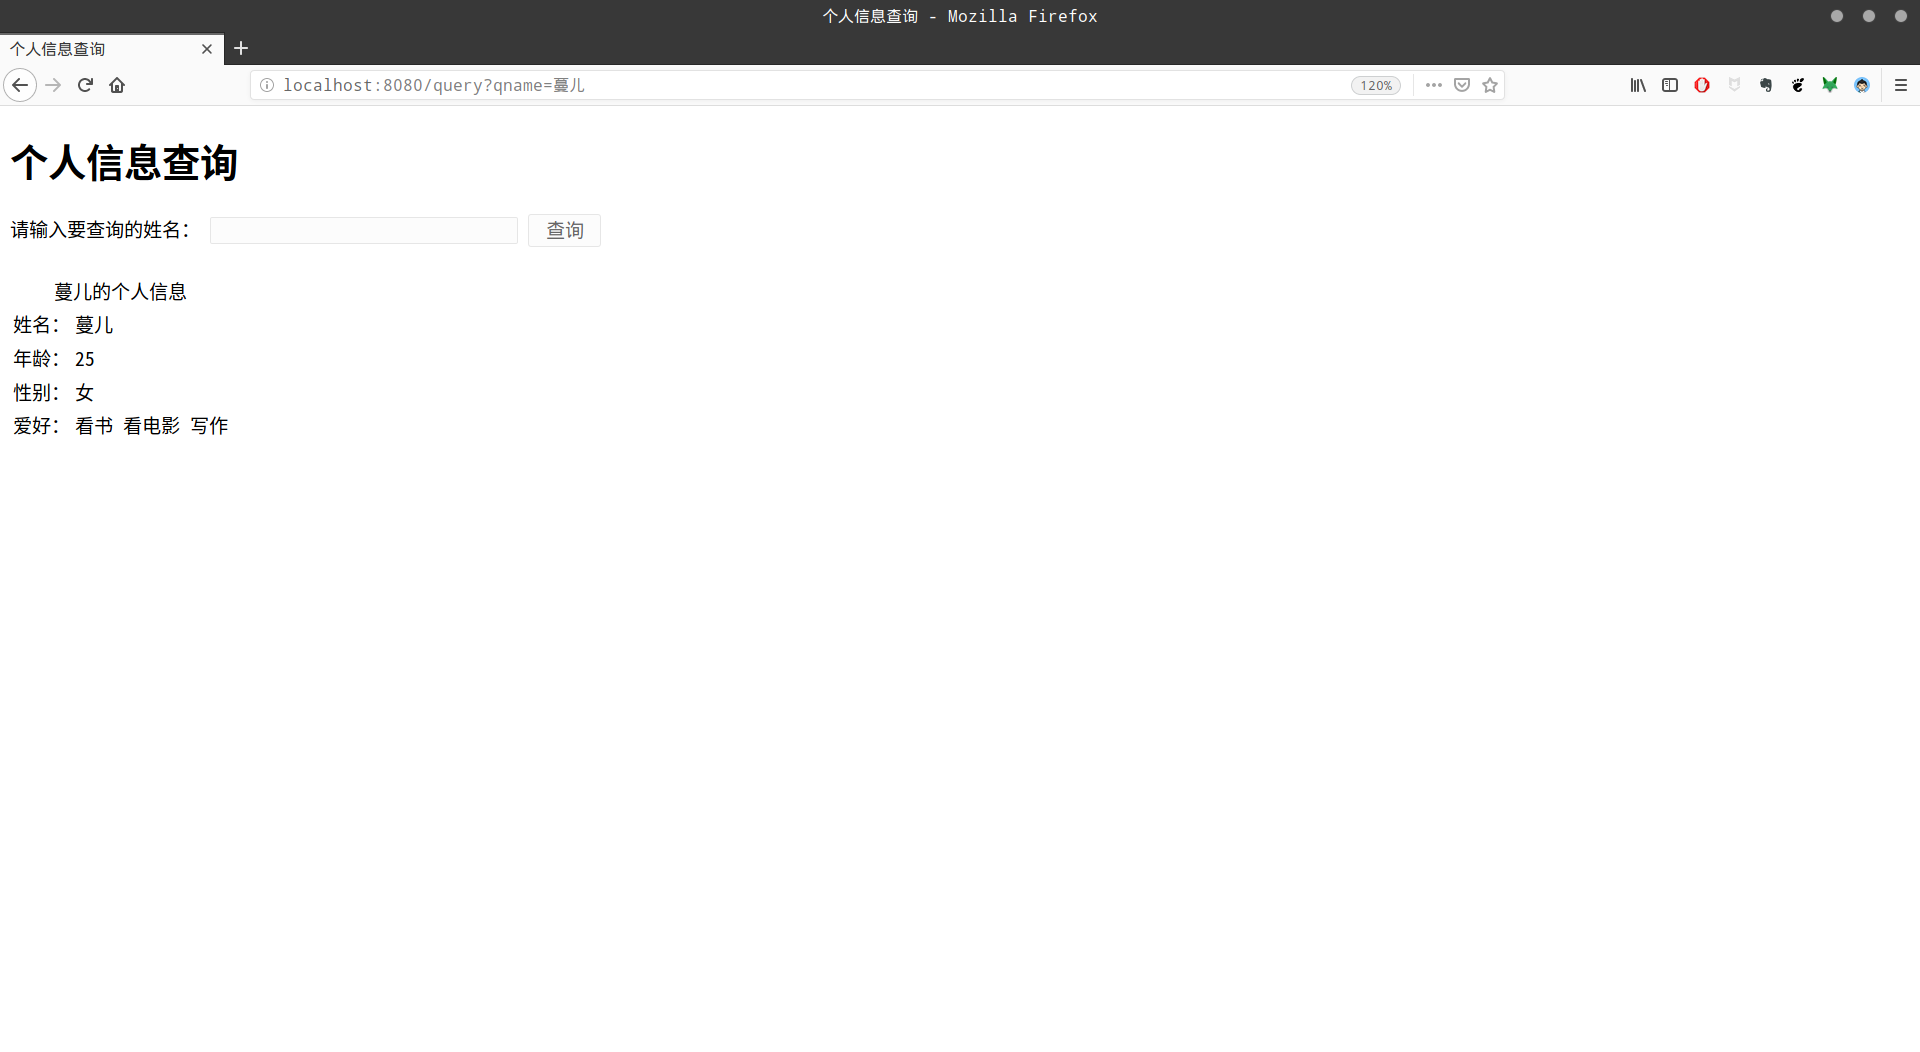
4、保存所有文件后,在code/05_webForm/get_form目录下执行node app.js命令,结果如下:
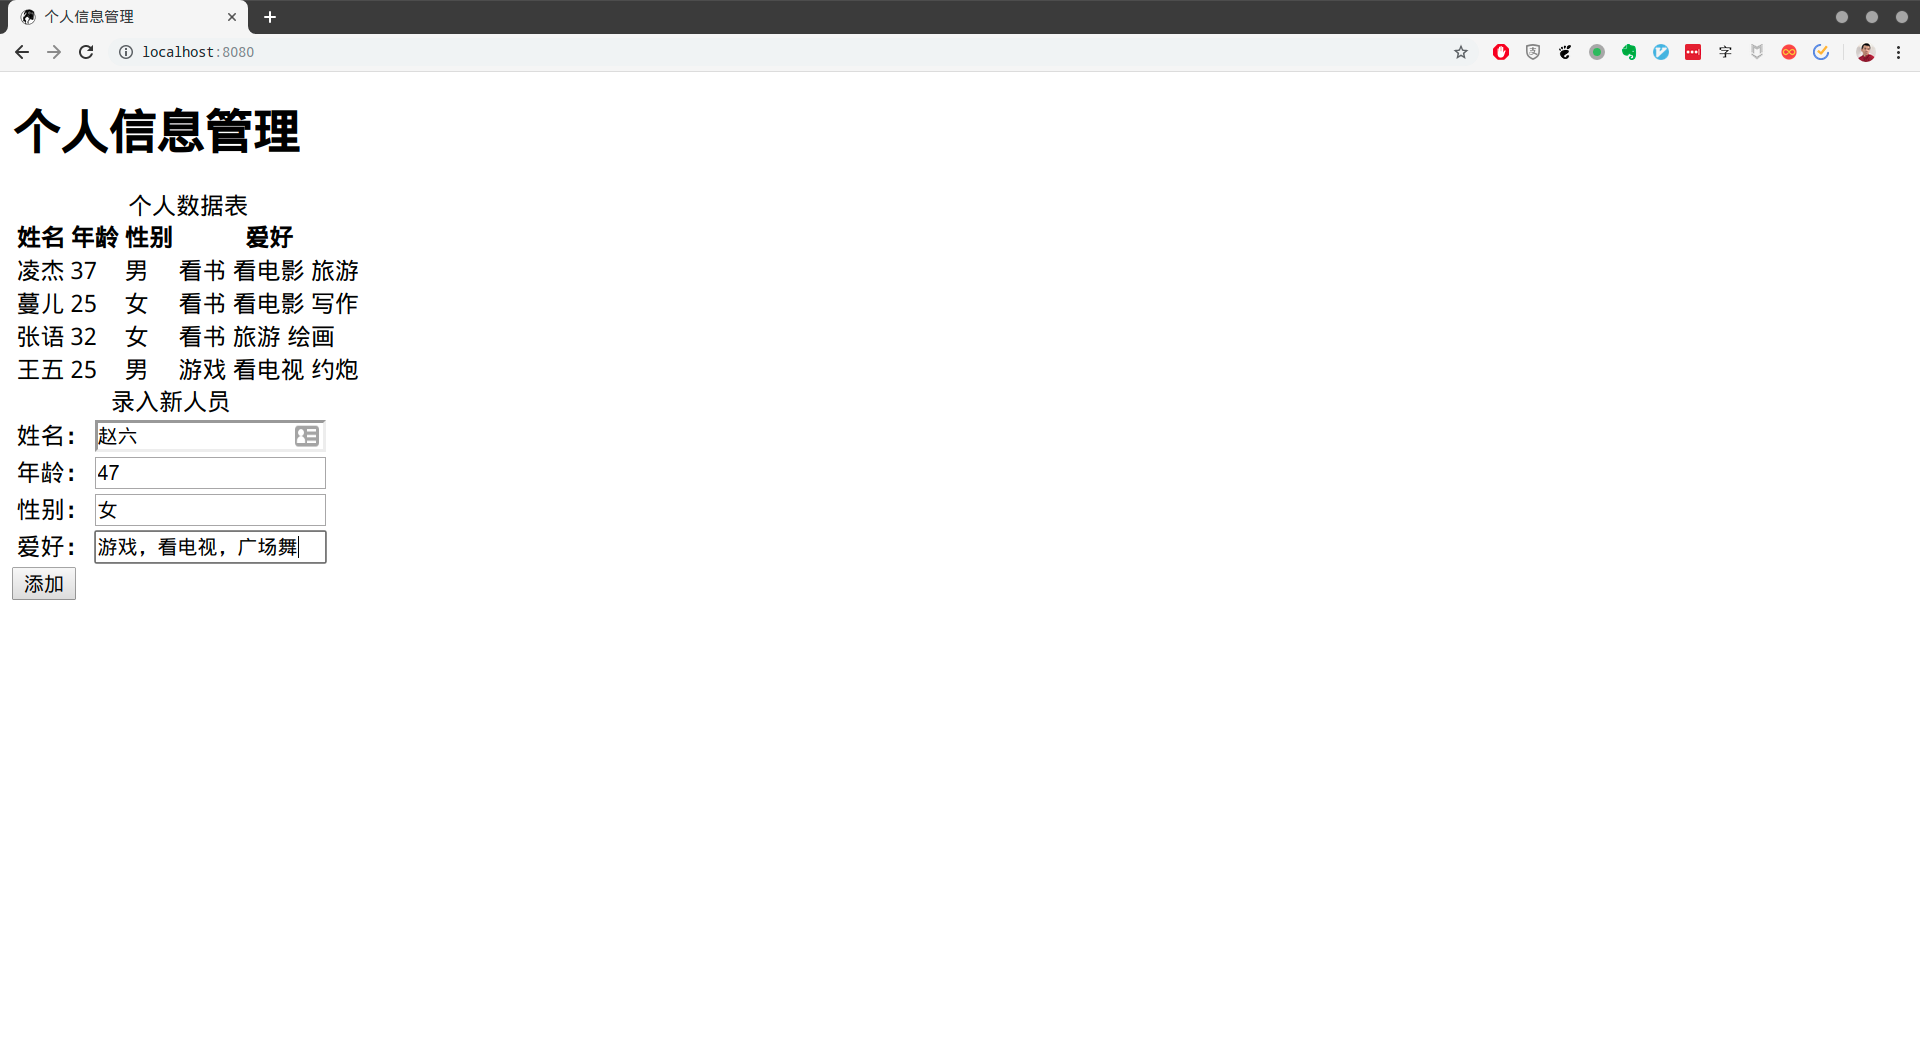
2. post 方法
先来演示如何处理使用post方法来发送请求的表单。首先,在code/05_webForm目录下执行mkdir post_form命令,并执行以下步骤:
- 在code/05_webForm/get_form目录下执行npm install art-template命令,将art-template安装到当前示例项目中。
- 在code/05_webForm/post_form目录下执行touch index.htm,创建一个模版文件,具体如下:
 <!DOCTYPE html>
<html lang="zh-cn">
<head>
<meta charset="UTF-8">
<title>个人信息管理</title>
</head>
<body>
<h1>个人信息管理</h1>
<table>
<caption>个人数据表</caption>
<tr><th>姓名</th><th>年龄</th><th>性别</th><th>爱好</th></tr>
{{ each db }}<tr>
<td>{{ $value.name }} </td>
<td>{{ $value.age }} </td>
<td>{{ $value.sex }} </td>
<td>{{ each $value.items }} {{ $value }} {{ /each }}</td>
</tr>
{{ /each }}</table>
<form action="/add" method="POST">
<table>
<caption>录入新人员</caption>
<tr><td>姓名:</td><td><input type="text" name="uname" /></td></tr>
<tr><td>年龄:</td><td><input type="text" name="age"></td></tr>
<tr><td>性别:</td><td><input type="text" name="sex"></td></tr>
<tr><td>爱好:</td><td><input type="text" name="items"></td></tr>
</table>
<input type="submit" value="添加" />
</form>
</body>
</html>
3、在code/05_webForm/post_form目录下执行touch app.js,创建一个脚本文件,具体如下:
const http = require('http')
const fs = require('fs')
const url = require('url')
const querystring = require('querystring')
const template = require('art-template')
class human {
constructor(name, age, sex, items=[])
{this.name = name
this.age = agethis.sex = sexthis.items = items}}const db = [
new human('凌杰', '37', '男', ['看书', '看电影','旅游']),
new human('蔓儿', '25', '女', ['看书', '看电影','写作']),
new human('张语', '32', '女', ['看书', '旅游','绘画'])
]const server = http.createServer(function(req, res){
const query = url.parse(req.url, true)
if ( query.pathname === '/' ) {
fs.readFile('./index.htm', function(err, data) {
if ( err !== null ) {
return res.end('<h1>404 没找到模版文件!</h1>')
}const strHtml = template.render(data.toString(), {
"db": db
})res.end(strHtml)})}else if ( query.pathname === '/add' ) {
req.on('data', function(chunk) {
const obj = querystring.parse(chunk.toString())
db.push(new human(
obj['uname'],
obj['age'],
obj['sex'],
obj['items'].split(','),
))})res.writeHead(302, {
'location': `/`
})res.end()} else {
return res.end('<h1>404 页面没找到!</h1>')
}})server.listen(8080, function(){
console.log('请访问http://localhost:8080/,按Ctrl+C终止服务!')
})
4、保存所有文件后,在code/05_webForm/post_form目录下执行node app.js命令,结果如下: